Chapter 12 - Visibility and Road Hazards
Visibility is one of the most critical factors in road safety. If a driver cannot see clearly, or cannot be seen by others, the risk of an accident rises sharply. This chapter covers the causes of reduced visibility, how to handle each condition, and the road hazards every driver must recognise.

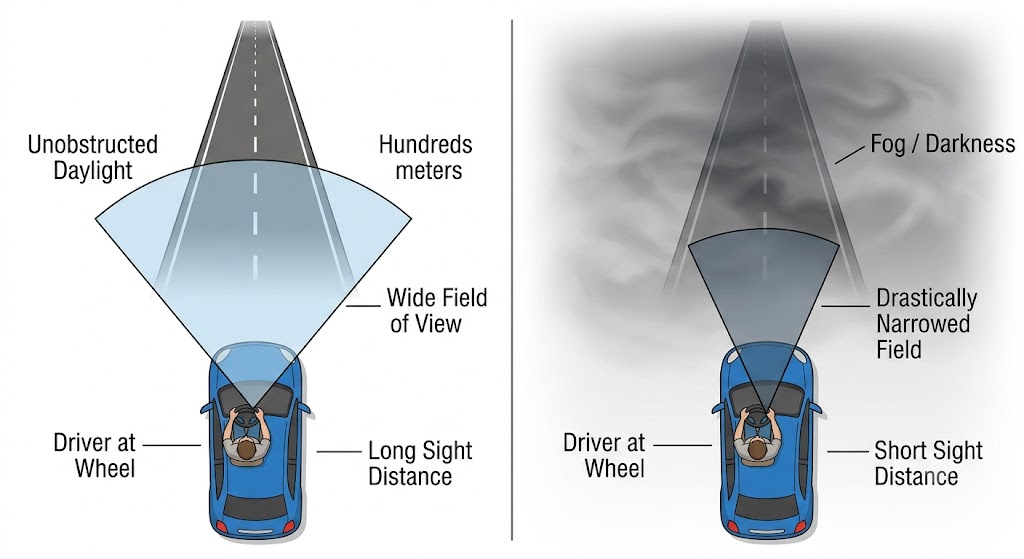
12.1 Importance of Visibility
Visibility is one of the most critical factors in road safety. If a driver cannot see clearly, or cannot be seen by others, the risk of a traffic accident increases significantly. Visibility conditions determine how quickly a driver can detect obstacles, assess situations, and respond appropriately.
12.2 Main Causes of Reduced Visibility
Reduced visibility may occur due to several factors:
- Weather conditions: fog, heavy rain, snow, smoke, or dust clouds.
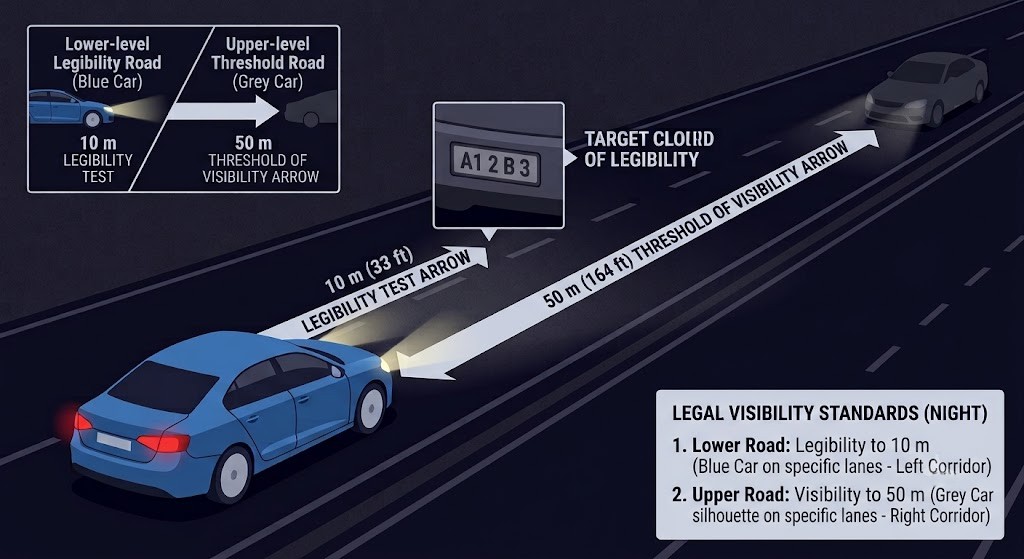
- Light conditions: twilight, night-time, glare from sun or headlights.
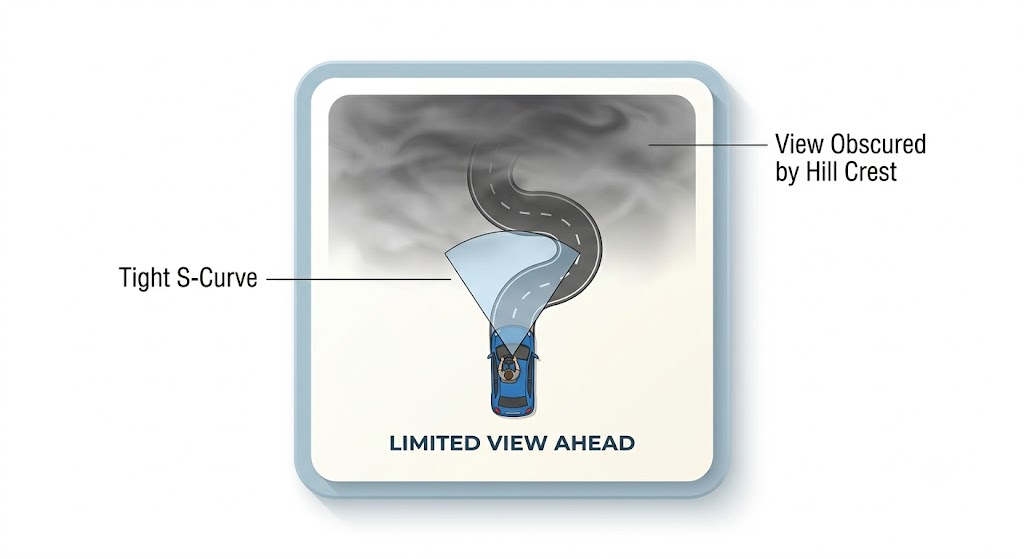
- Road design: tight curves, crests (summits), tunnels, or poorly lit areas.
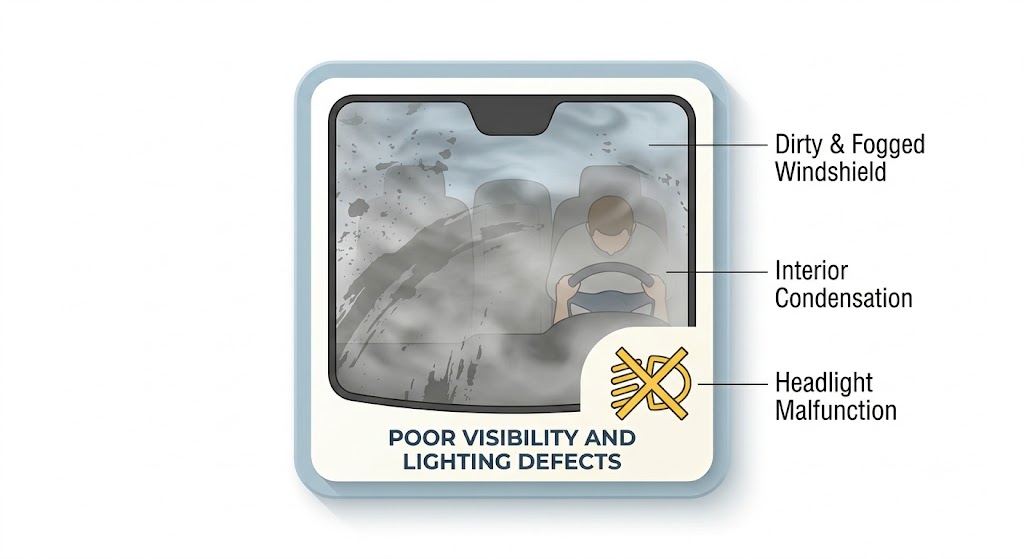
- Vehicle issues: fogged or dirty windshields, non-functional lights, or poor ventilation.
12.2.1 Poorly Lit Roads
12.3 Types of Visibility Impairment
12.3.1 Fog
Reduces visibility drastically and suddenly. Use dipped headlights and front/rear fog lights if necessary. Avoid high beams - they reflect off fog particles and worsen visibility.
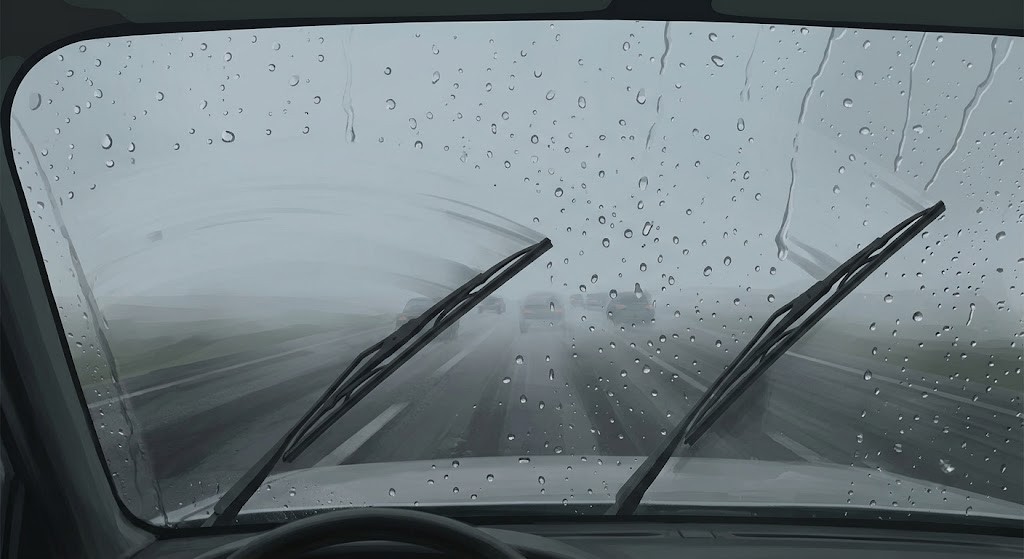
12.3.2 Rain and Snow
Wipers and defoggers must work properly. Reduce speed and increase braking distance. Use dipped headlights during the day for better visibility.
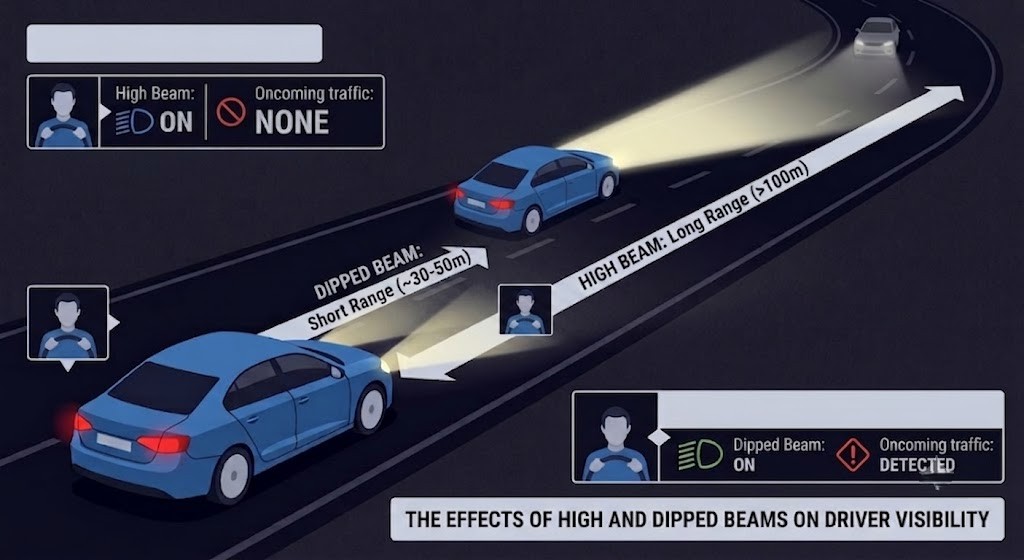
12.3.3 Night Driving
Use dipped beams in urban areas; use high beams on poorly lit rural roads without dazzling others. Switch to dipped beams when another vehicle approaches or is ahead of you.
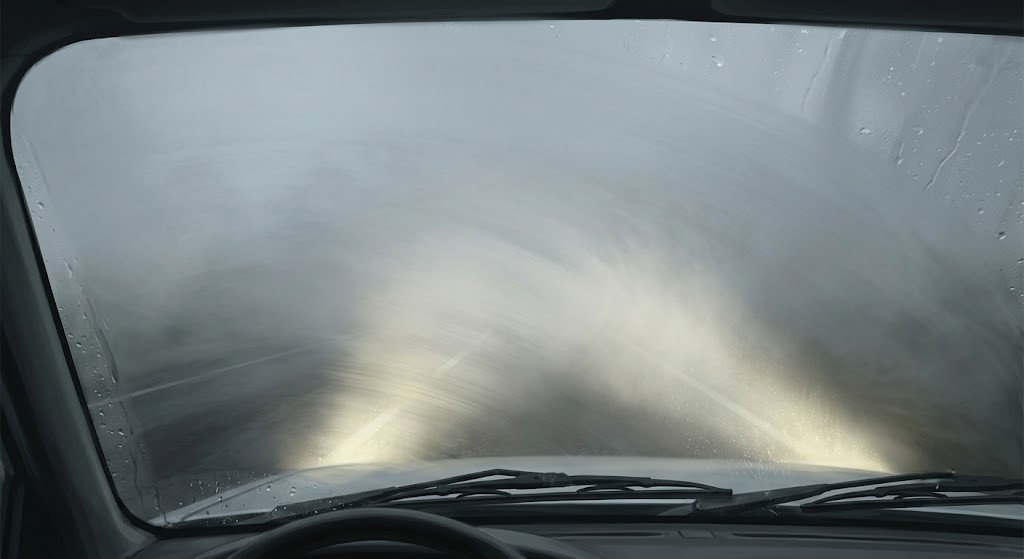
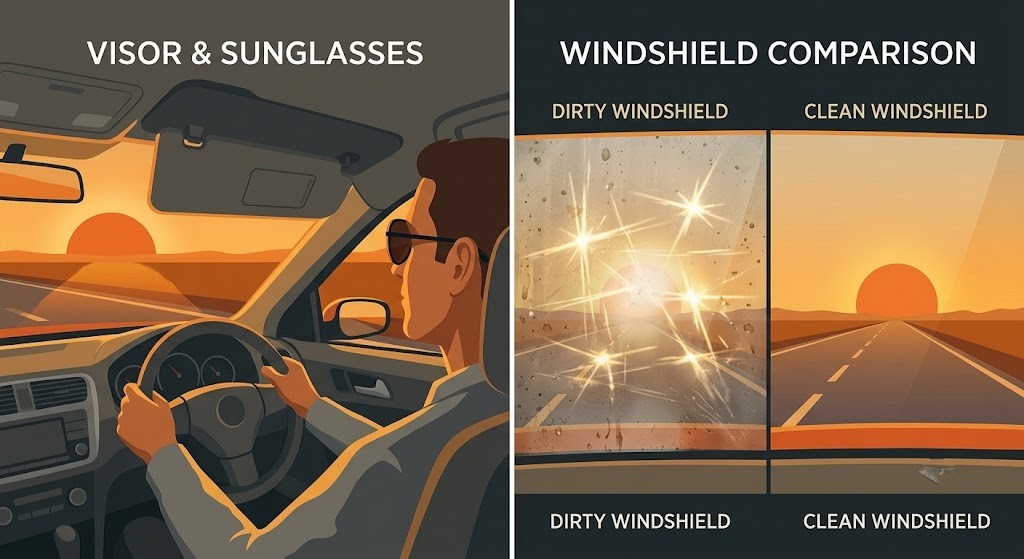
12.3.4 Sun Glare
Use sun visors and polarised sunglasses. Keep the windshield clean inside and out to avoid light scattering.
12.4 Use of Vehicle Lights in Low Visibility
- Lights should be used to see and be seen.
- Dipped headlights are mandatory in poor visibility and in tunnels.
- Front fog lights are optional and may be used when visibility is reduced by weather or on narrow, winding roads.
- The rear fog light is mandatory in cases of very dense fog, heavy snow, or rain.

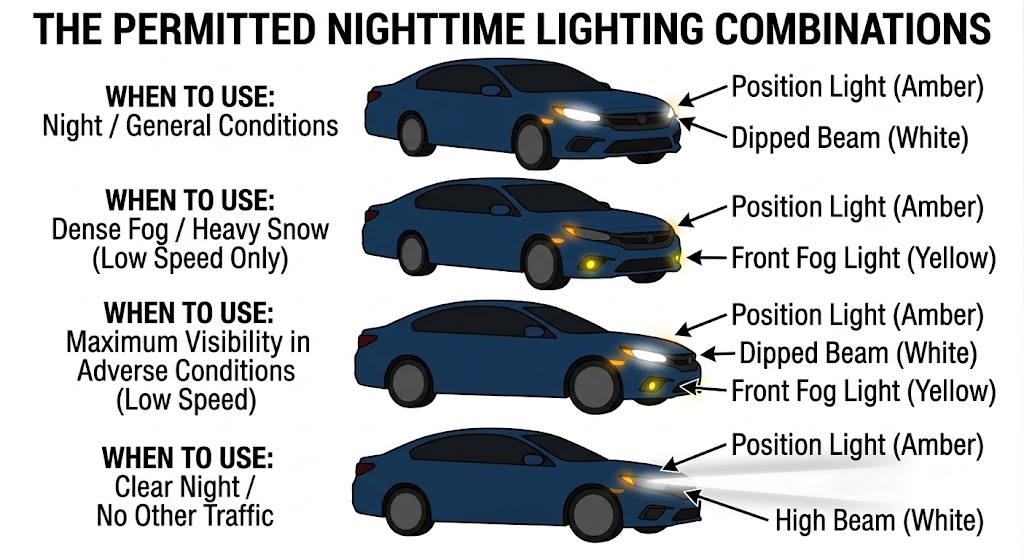
12.4.1 Permitted Combinations
| Combination | When to use |
|---|---|
| Position + dipped beam | Most common in low visibility. |
| Position + front fog light | Daytime use. |
| Position + dipped beam + front fog light | Night or poor visibility. |
| Position + high beam | Only in open areas and at night. |
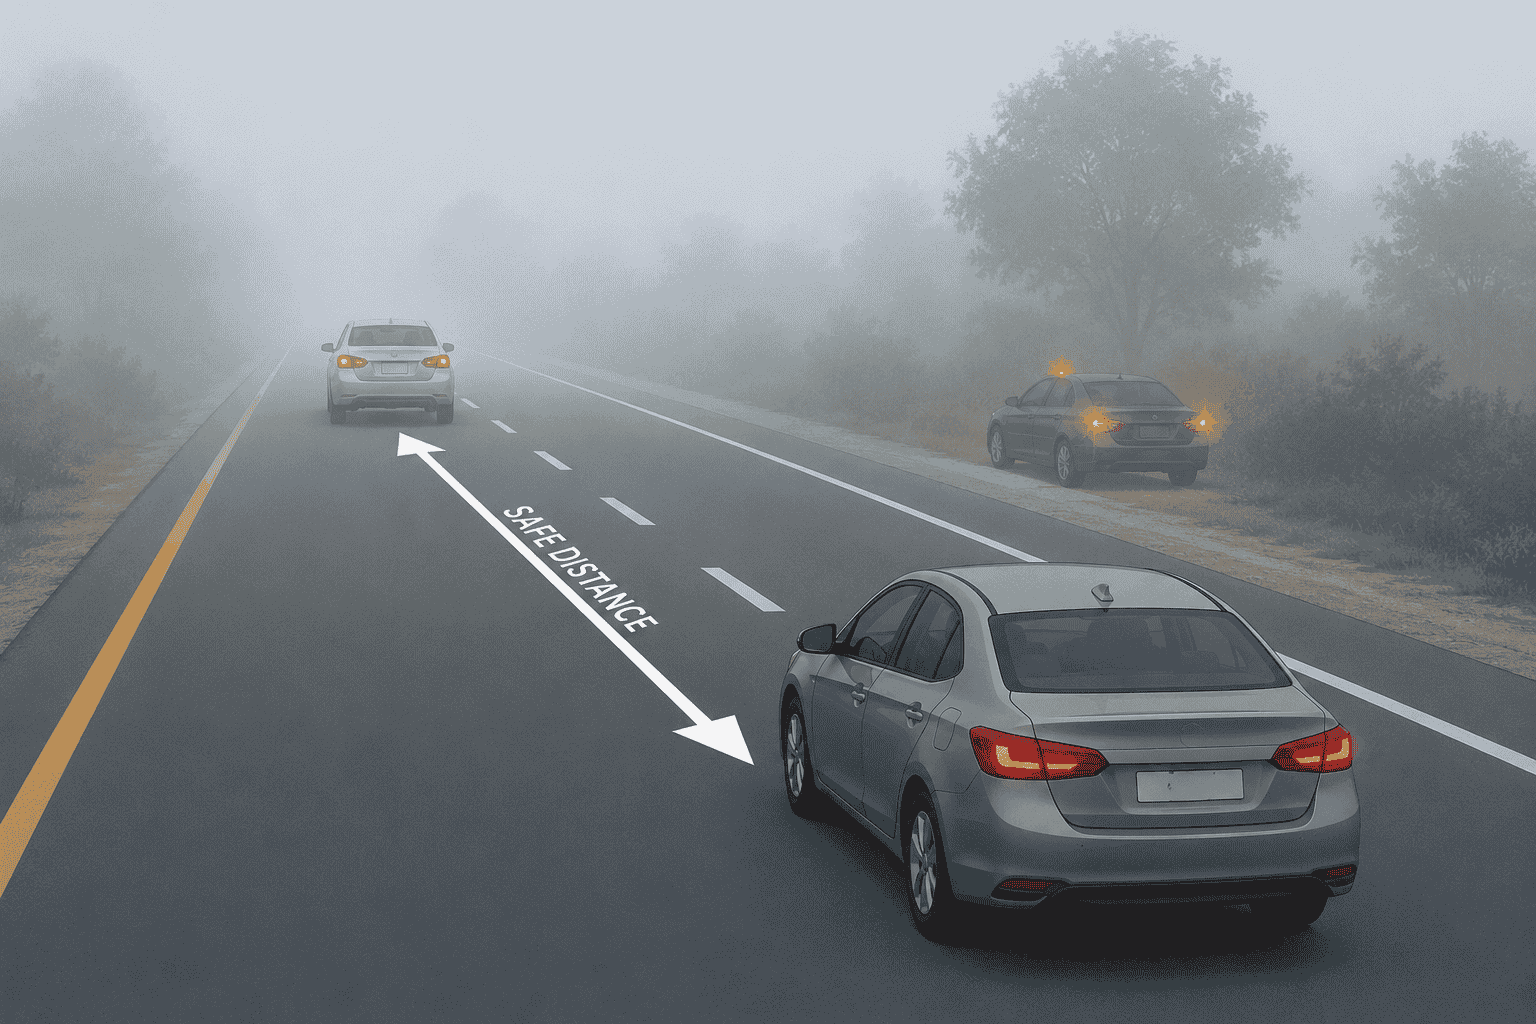
12.5 Driving Behaviour in Poor Visibility
- Adapt speed to ensure full control of the vehicle.
- Keep a longer safety distance from the vehicle ahead.
- Use the right lane when visibility is limited.
- Avoid sudden braking or steering.
- If you must stop, pull off the road and turn on hazard lights.
12.6 Road Hazards
Road hazards are conditions or features that increase the risk of an accident. These are typically signalled with triangular warning signs with red borders.
12.6.1 Common Hazard Types
| Sign | Code | Hazard |
|---|---|---|
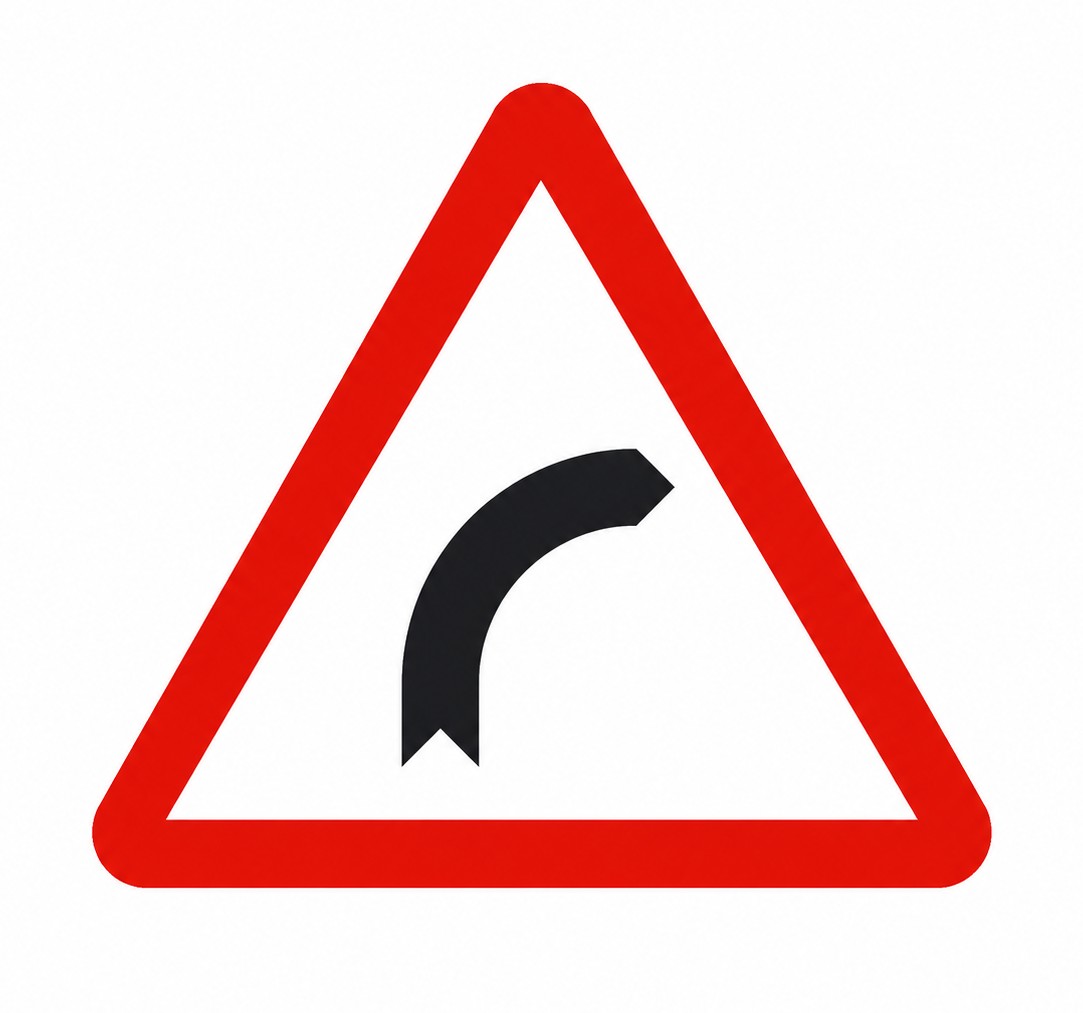 | P-13a | Dangerous bend to the right. |
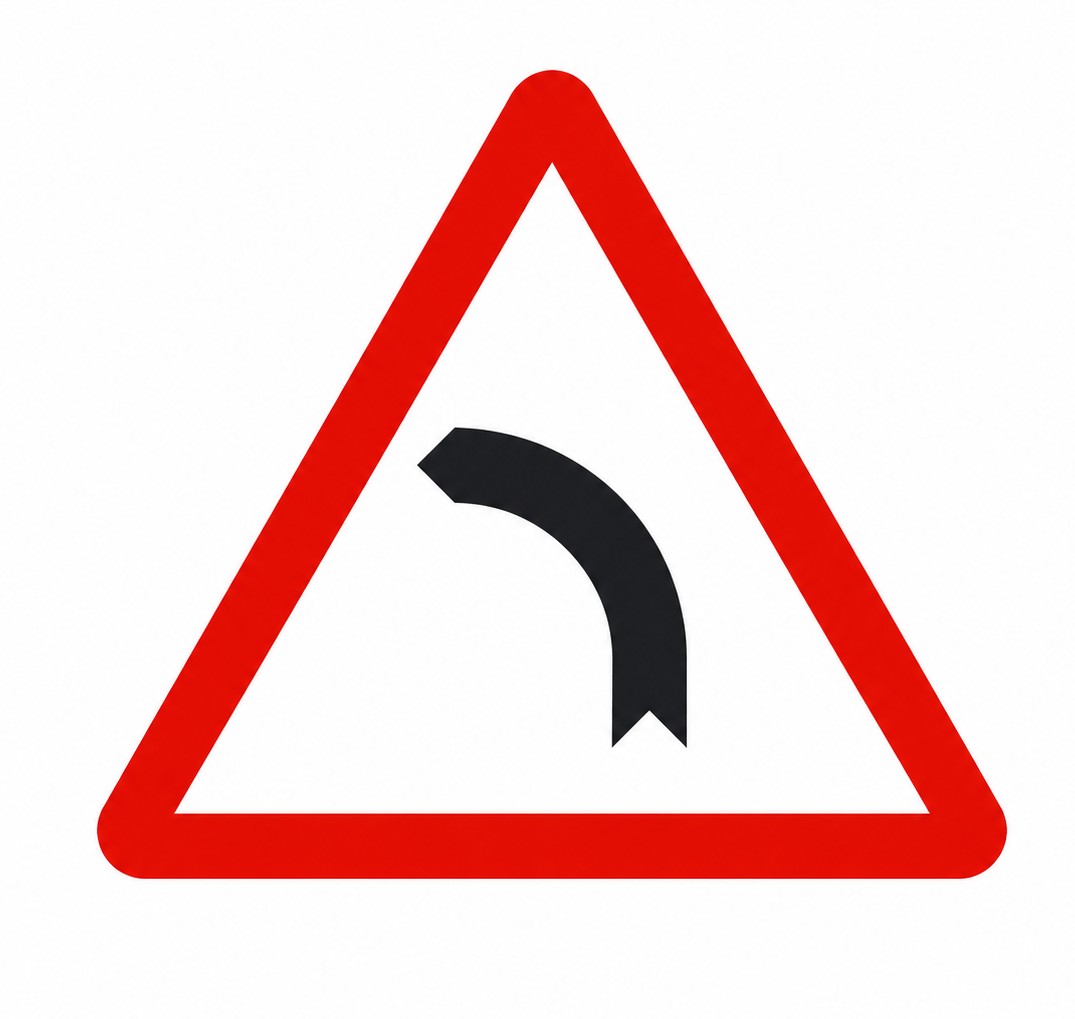 | P-13b | Dangerous bend to the left. |
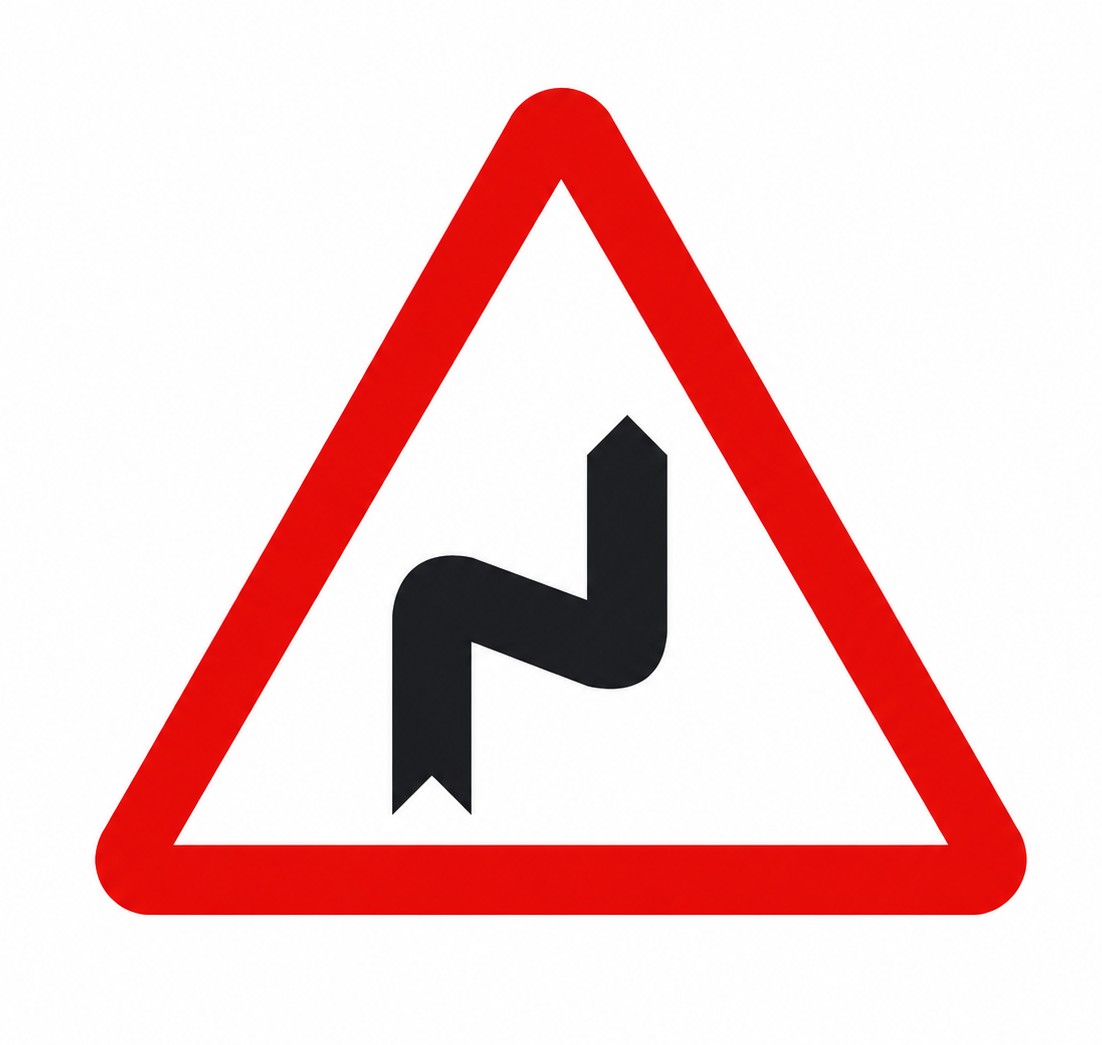 | P-14a | Series of dangerous bends, first to the right. |
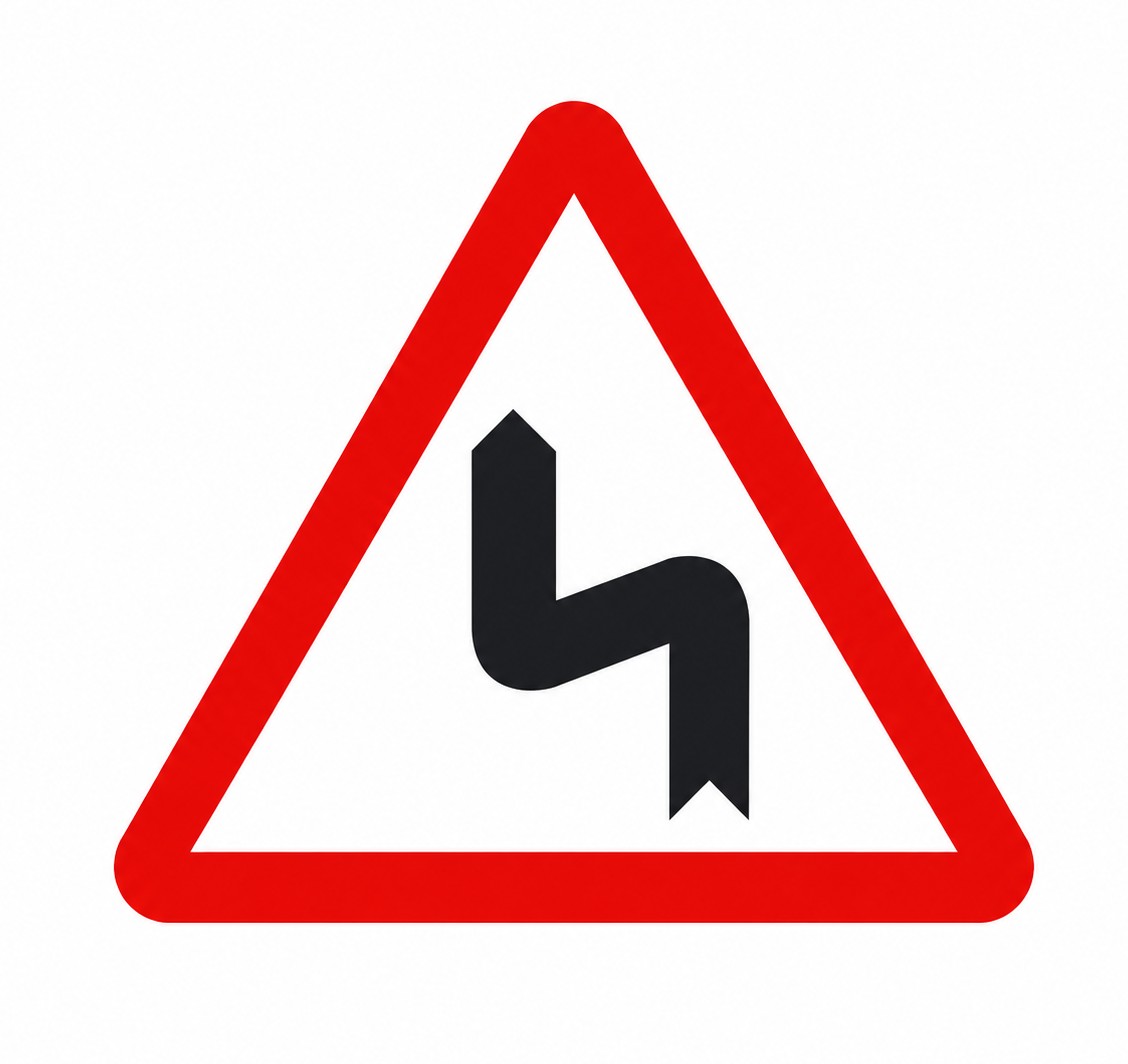 | P-14b | Series of dangerous bends, first to the left. |
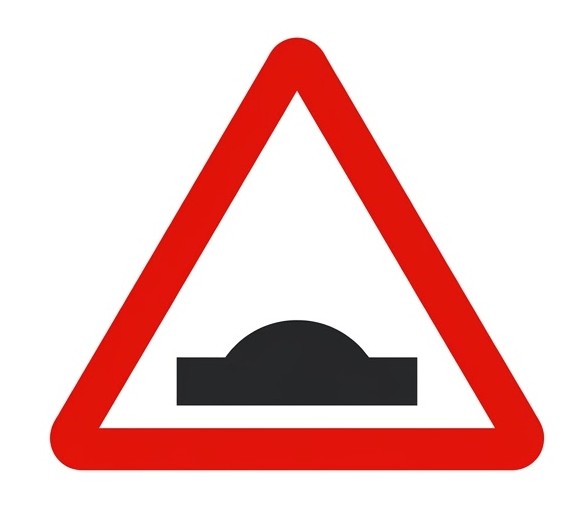 | P-15a | Hump in the road. |
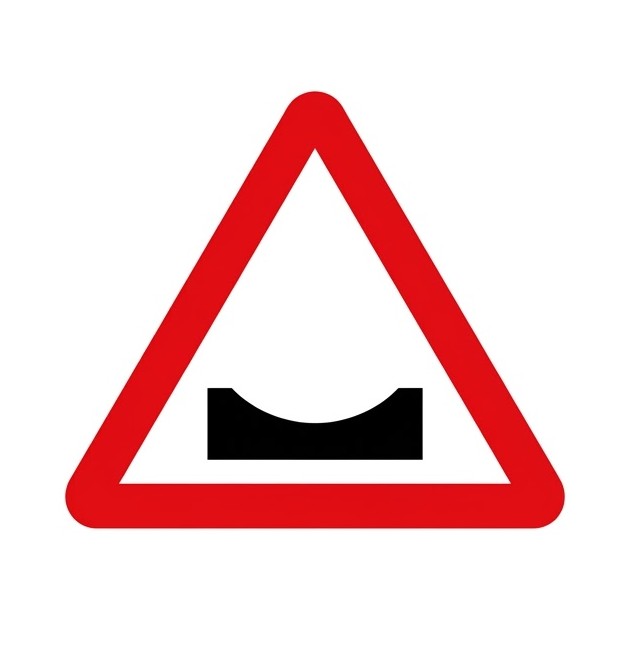 | P-15b | Dip in the road. |
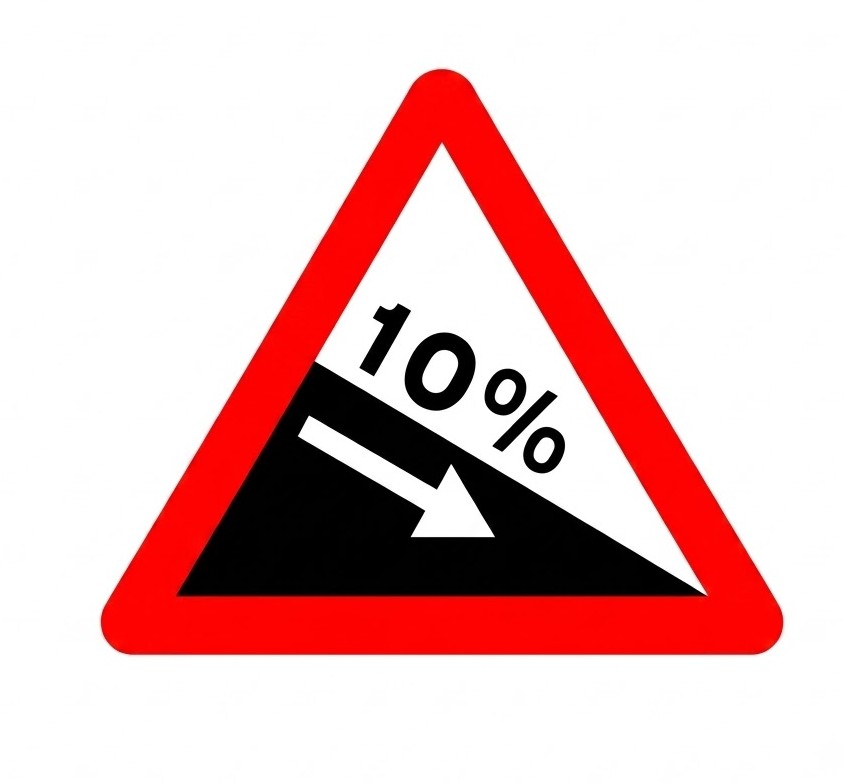 | P-16a | Steep descent. |
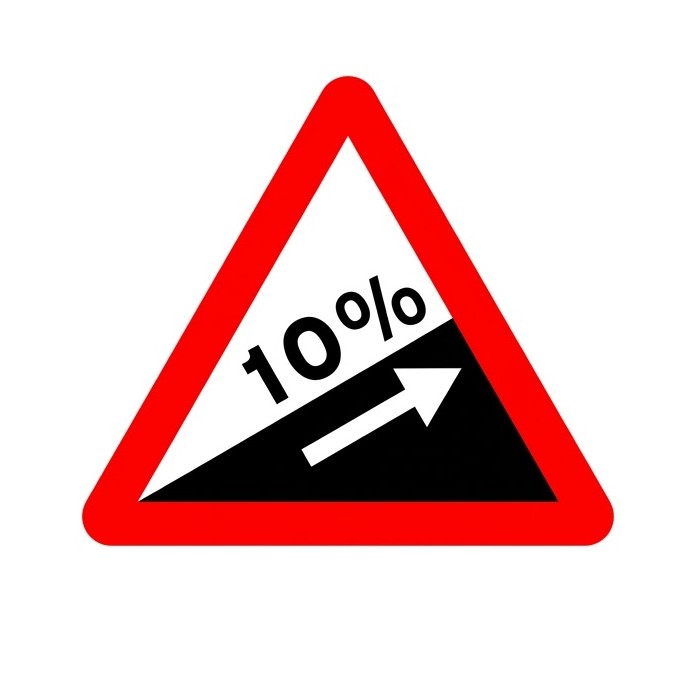 | P-16b | Steep ascent. |
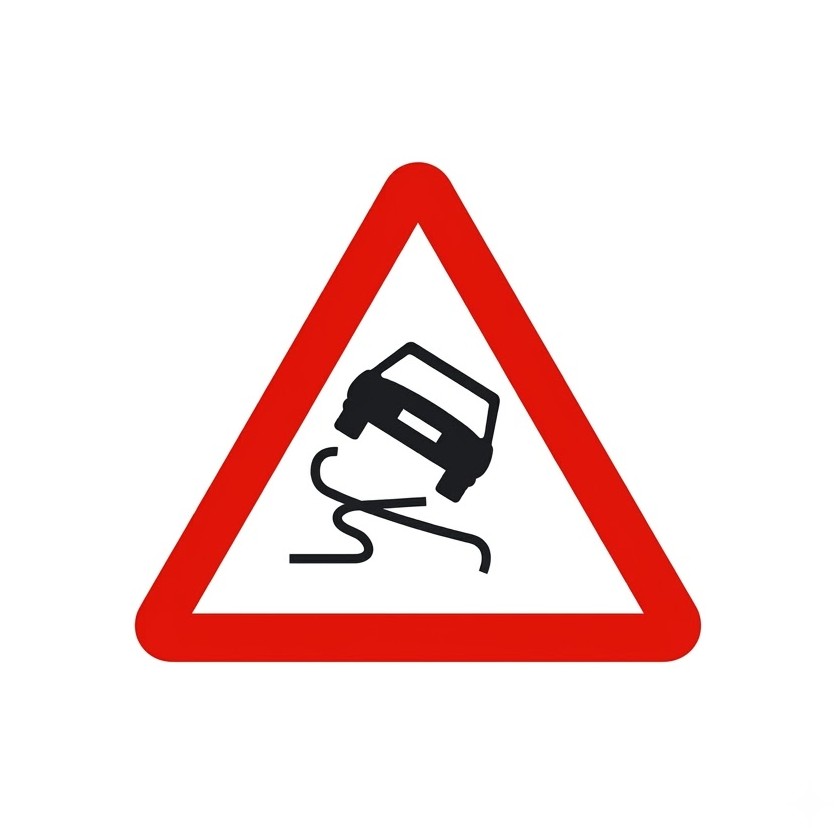
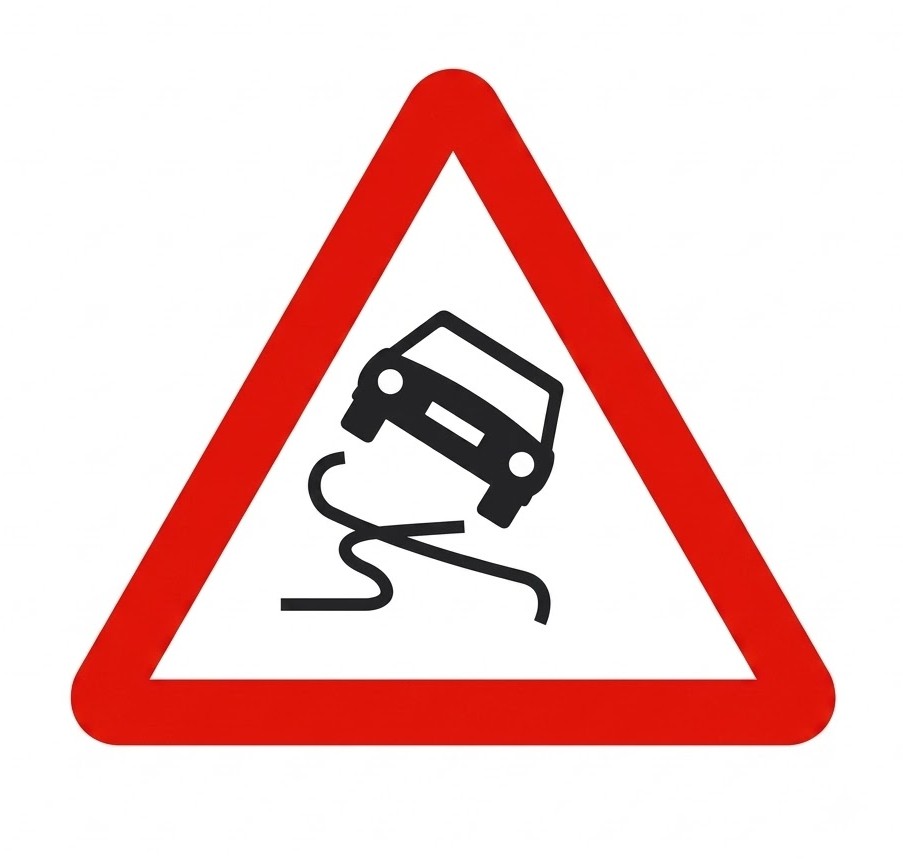 | P-19 | Slippery road surface. |
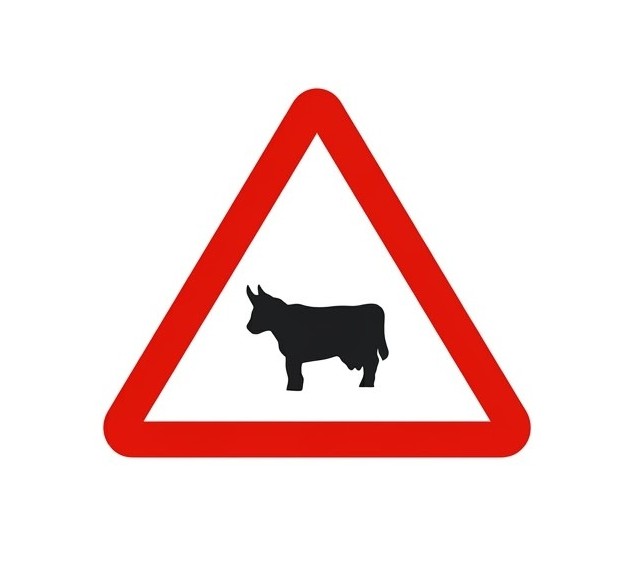 | P-23 | Domestic animals crossing. |
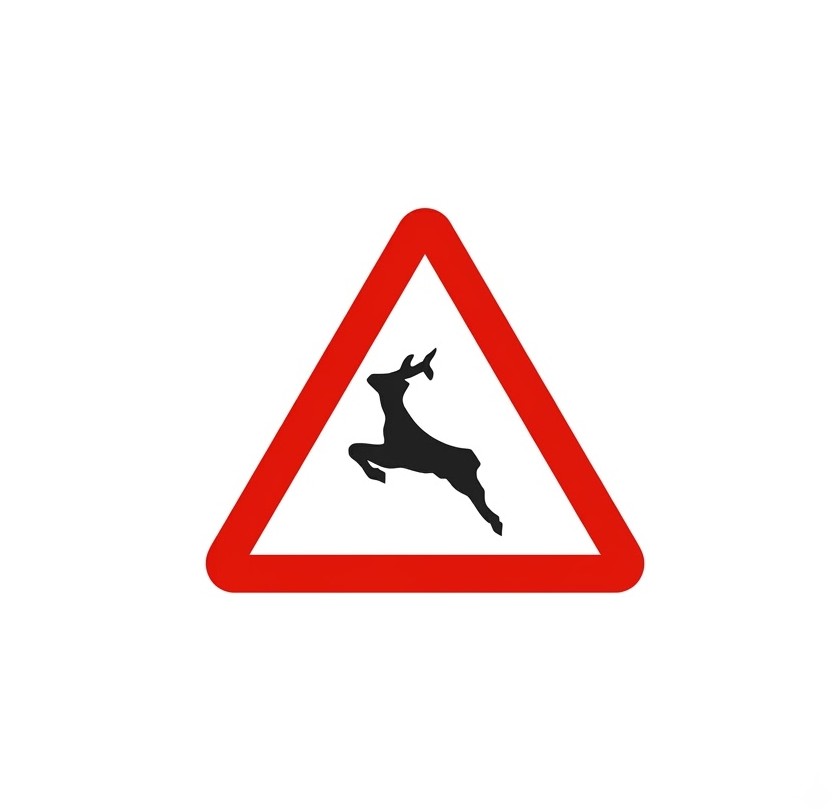 | P-24 | Wild animals crossing. |
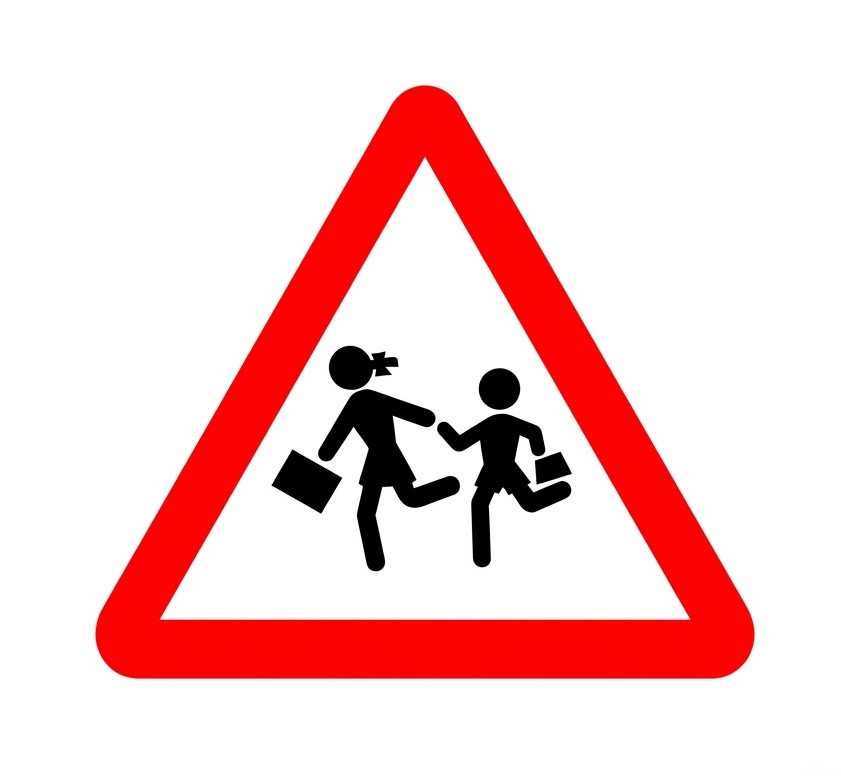 | P-21a | Children - school or play area nearby. |
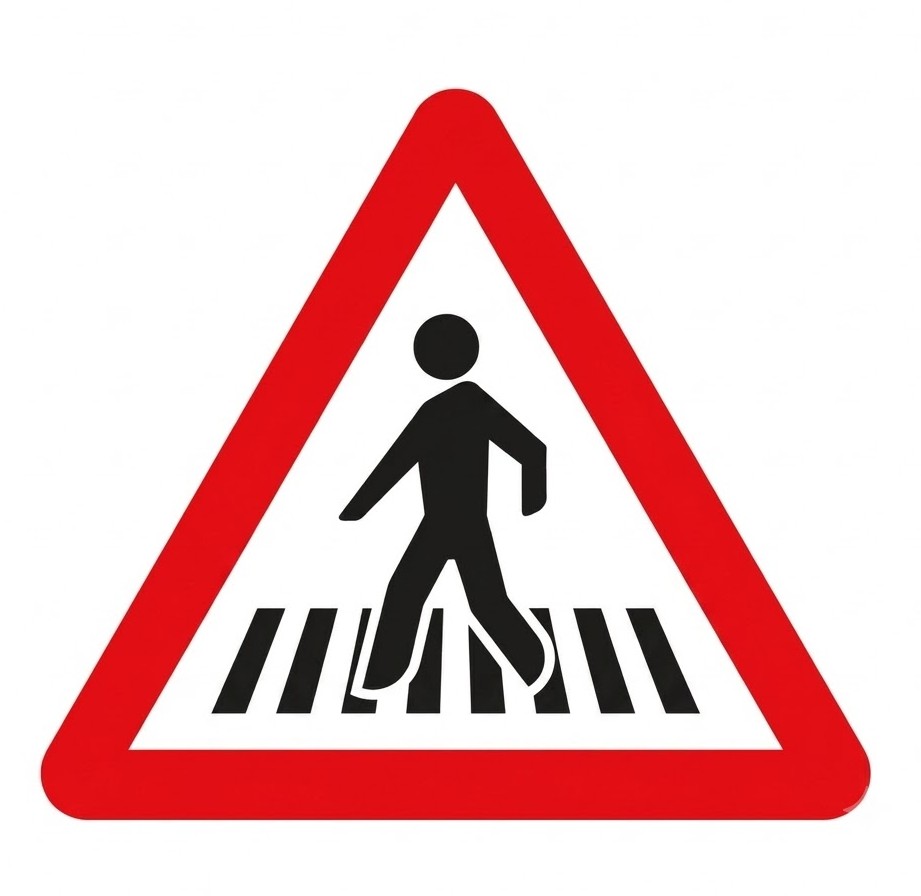 | P-20a | Pedestrian crossing. |
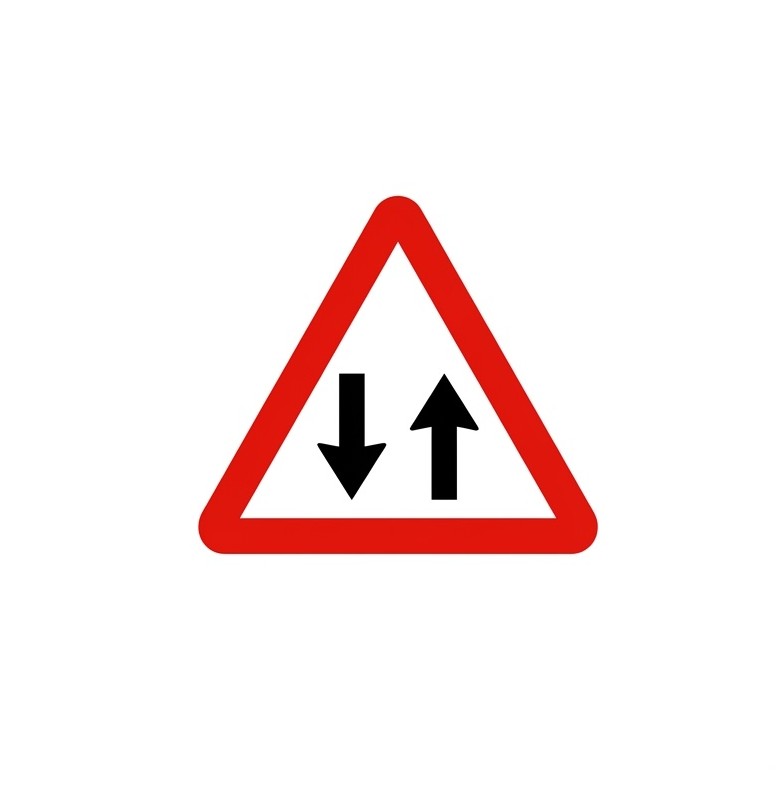 | P-25 | Two-way traffic. |
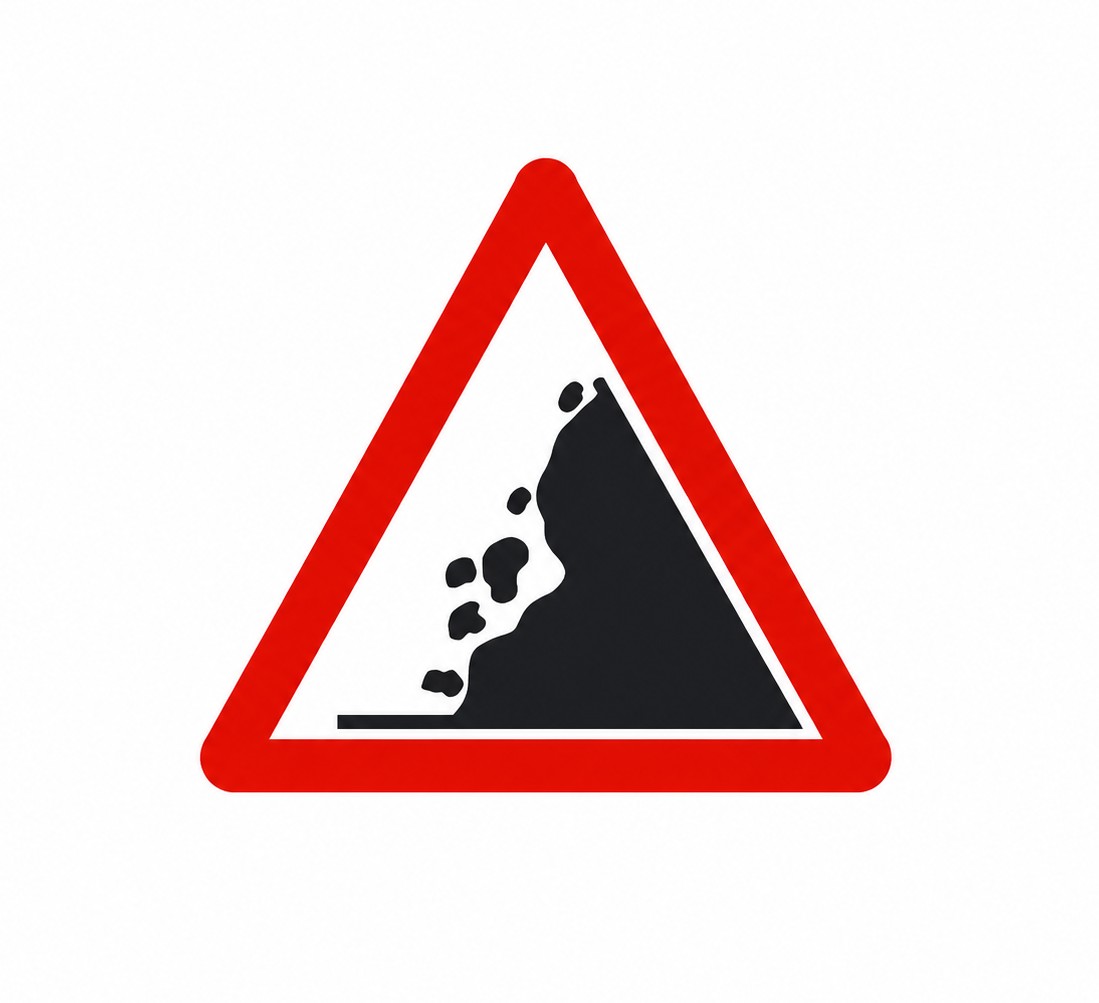 | P-26 | Falling rocks or landslide area. |
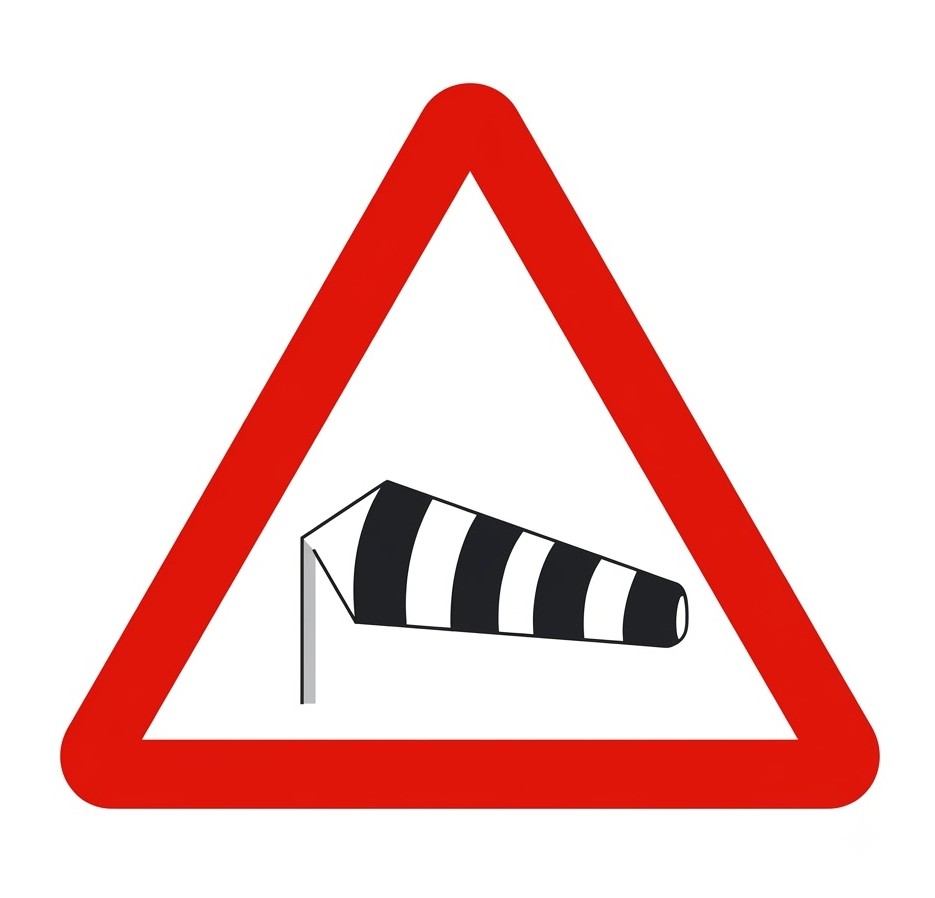 | P-29 | Crosswind - dangerous for high-sided vehicles. |
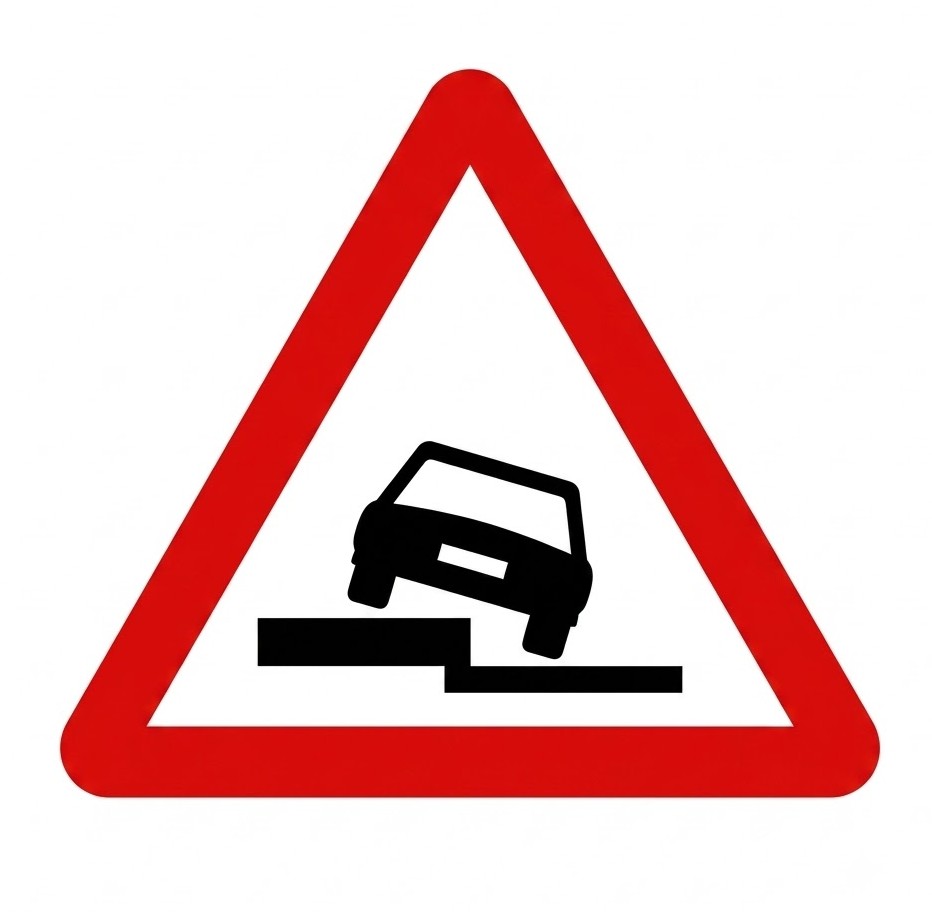 | P-30 | Uneven or soft shoulder - lateral drop-off. |
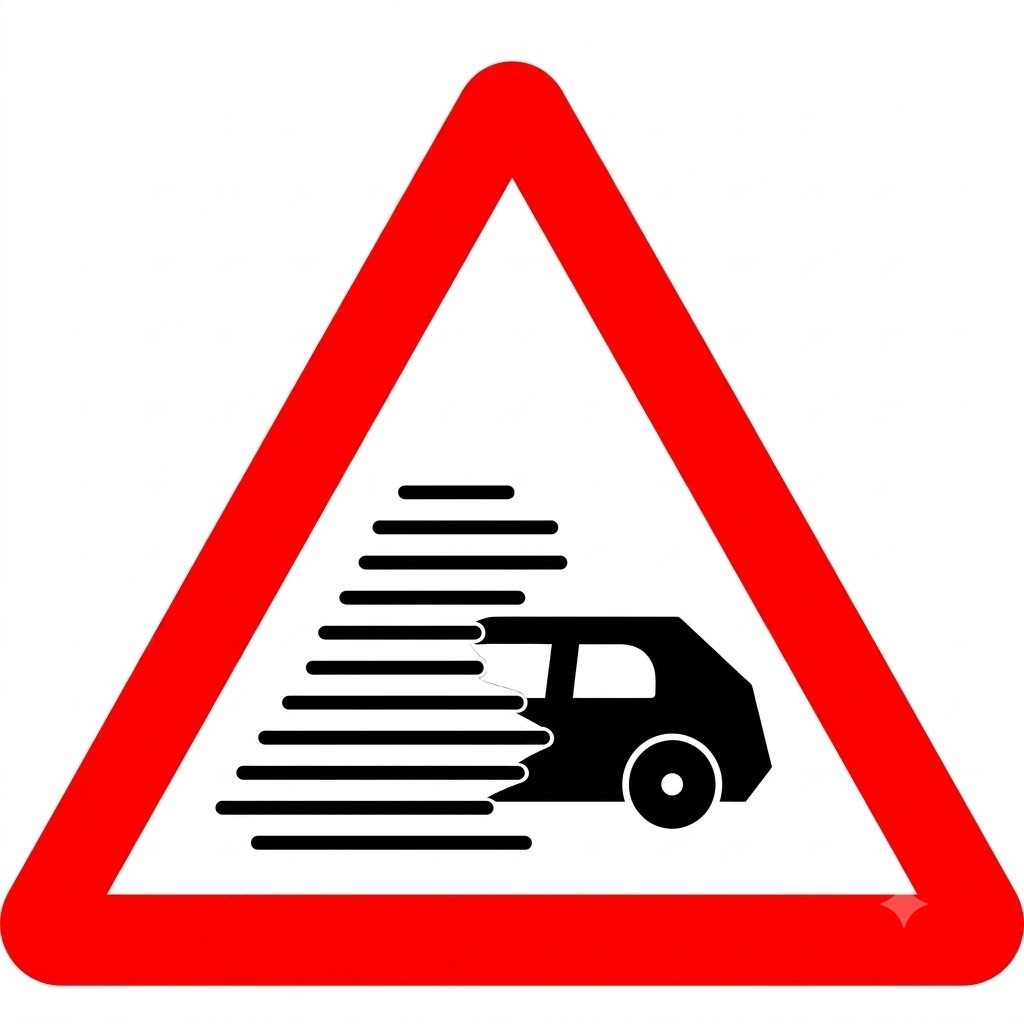 | P-33 | Reduced visibility due to environmental conditions. |
12.6.2 Additional Hazards
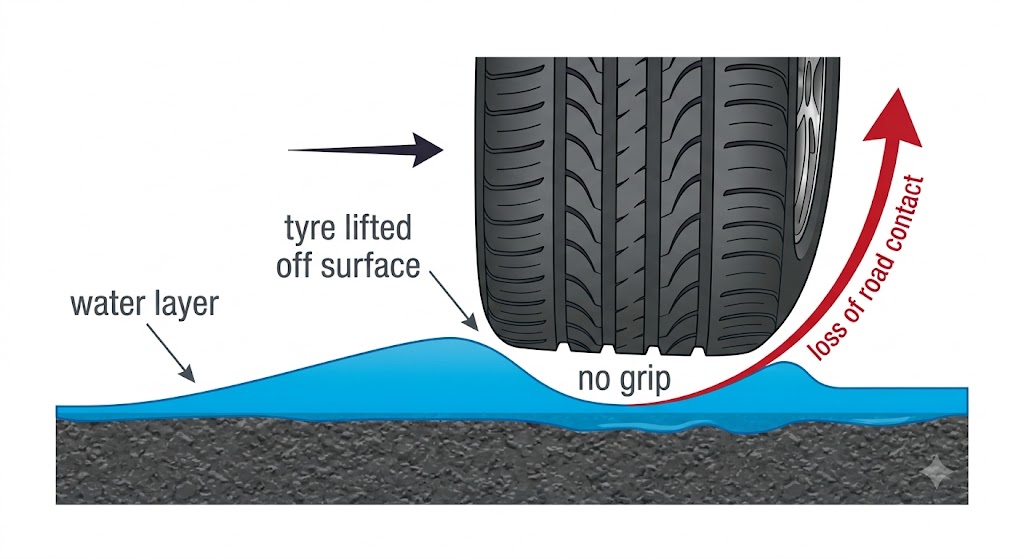
Aquaplaning
A water layer reduces tyre grip and steering control. The tyre loses contact with the road surface, making braking and steering ineffective.
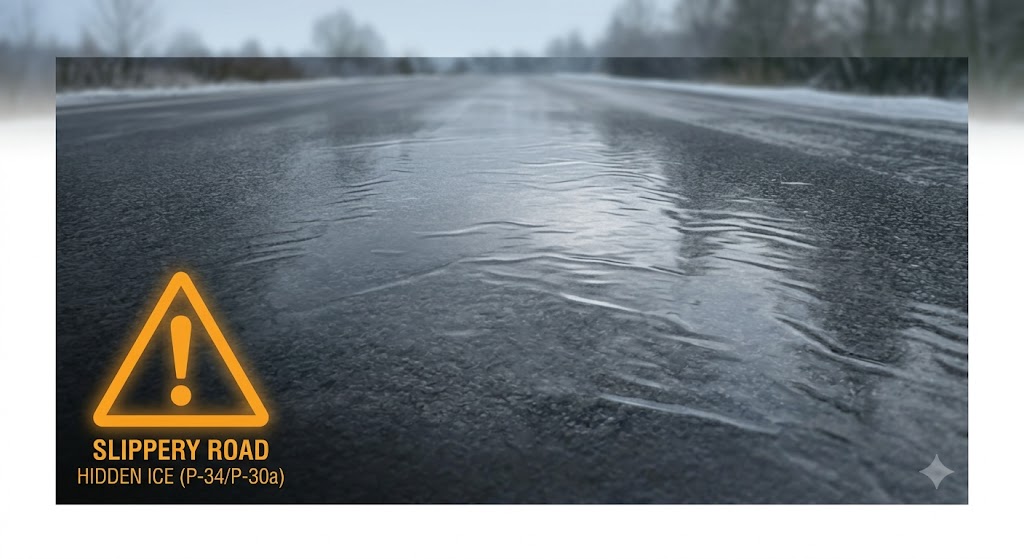
Icy Roads
Ice may be invisible ("black ice") and extremely dangerous. The road surface looks normal but is glazed with a thin transparent ice layer.
Potholes or Gravel
May cause loss of control or damage to tyres. Loose gravel or unexpected potholes can destabilise the vehicle suddenly.

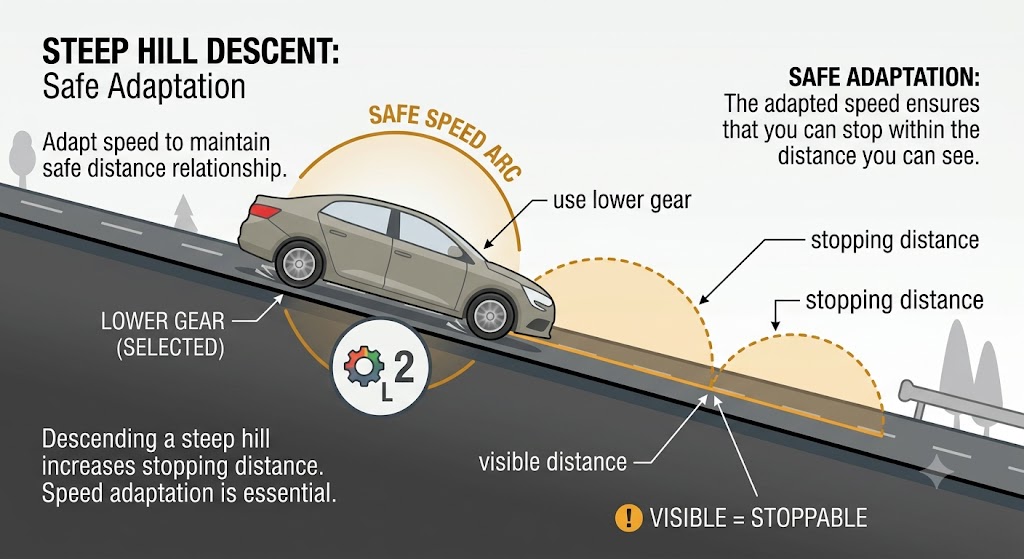
12.7 Adapting Speed in Hazardous Zones
- Always drive at a speed that allows you to stop within your visible distance.
- Respect warning and speed-limit signs - they are placed based on accident statistics and road studies.
- On downhill slopes, reduce speed and use lower gears to avoid brake overheating.
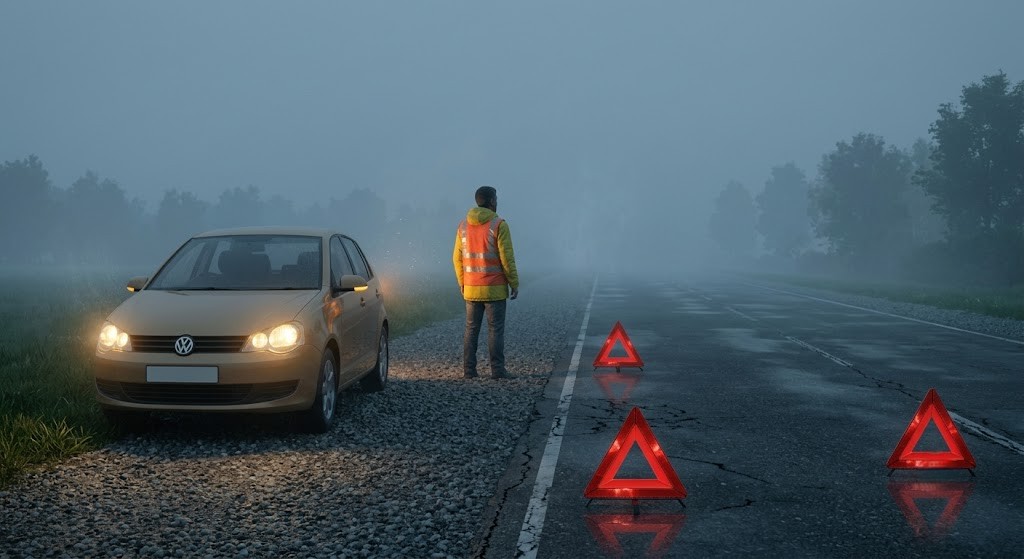
12.8 Emergency Situations
If visibility becomes dangerously low:
- Pull over to a safe spot as far off the road as possible.
- Turn on hazard lights and fog lights.
- Use reflective vests if leaving the vehicle.
- Never stop in the middle of a lane or without lighting.
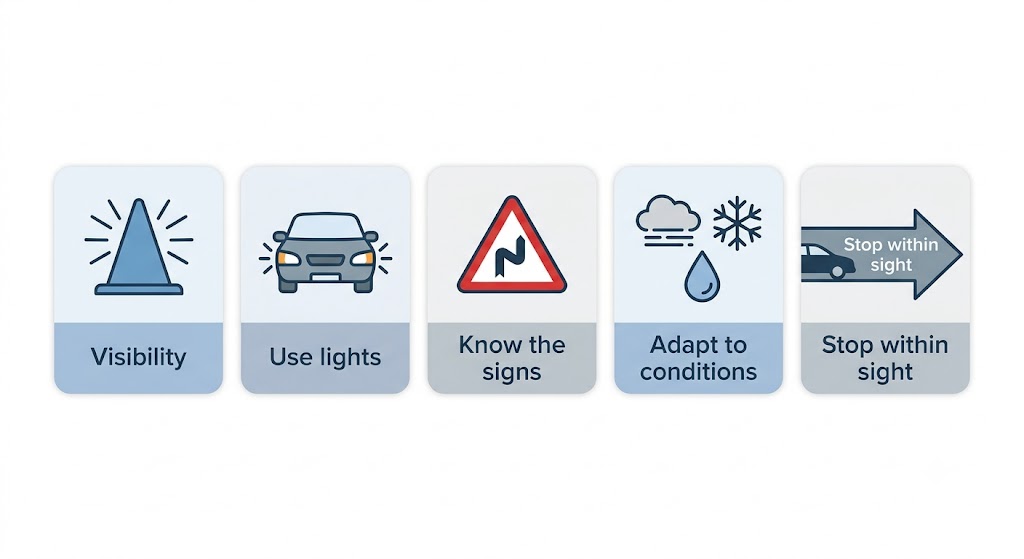
12.9 Summary
- Visibility determines your ability to react safely - reduce speed when in doubt.
- Use proper lighting combinations at all times.
- Recognise warning signs for curves, slopes, animals, or adverse conditions.
- Be especially cautious in fog, snow, rain, or low-light environments.
Ready to test your knowledge?
Practice questions covering everything in Chapter 12 - Visibility and Road Hazards.Last updated: 2026-06-27
Practice the questions for this chapter
The theory is free to read. Create a free account to practice official-format questions and track your progress.